
Alright, I have been beating myself up that this project took so long to not only get completed, but also to get posted. Bed, bed crafter/blogger! Finally t is complete - or as complete as this first version is going to get.
I have so many statement piece necklaces and earrings that I need to get them out of my poor, overstuffed jewelry armoire...it was so full I couldn't close the doors. To be honest, I think that I had this idea in my head since the beginning of the summer - maybe that is when I started dreaming of it...I'm not certain when I decided to actually put 'feet' to the plan.
There are several things that I learned on this project. There are things I don't like, things I would change and things I wouldn't do again. Of course, I think that when something on Pinterest inspires you, the idea seems so much more attainable than the reality!
So, without further adieu...here is my basic guide for creating your own necklace and earring holders. (again, since this was started when I was just getting started a few months ago, photos are a combo of phone and DSLR. I beg forgiveness!)
Necklace & Earring Holders
Materials
Wood plaque (Michaels)
Burlap Canvas (Michaels)
Burlap Ribbon - at least a #9 (2" wide). I used #40 (3") folded in half (Michaels)
Buttons
Cabinet Knobs or hooks (I got mine at Cost Plus - but Anthropologie has great ones as well - it will depend on your budget. Mine were all under $3)
Chalkboard Paint (I used Krylon spray, but you can use brush on as well)
Chalk and Chalk Pen
Directions for Necklace Plaque
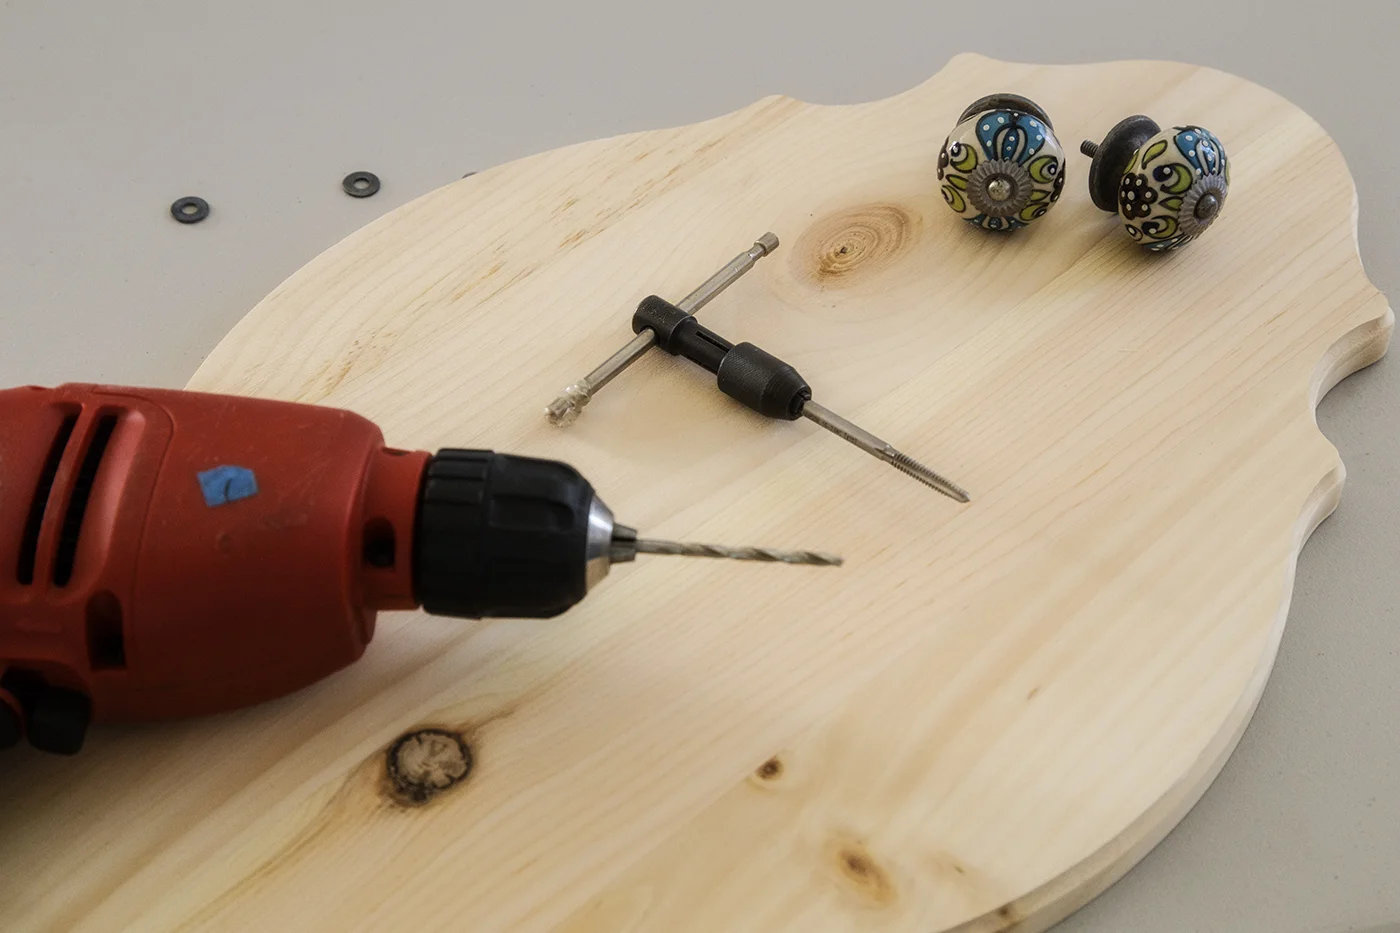
I asked the Rocket Scientist to assist me with this project as I haven't mastered the Dremel tool yet. I gave him the knobs and asked if he would please cut the screws down to the thickness of the wood plaque. He gladly did this for me and then gave me a drill bit and tap so that I could drill the holes for the knobs in the plaque as well as use the tap to create the threads inside the holes so the knobs would go in straight and easy. (I think it may be dangerous that I now know something like this exists - I see many possibilities!)
After I had the holes drilled and threads created, I painted the plaque with 2 coats of the chalkboard paint - following the drying instructions on the paint can.
Once the paint had dried I prepped the surface (which you really need to do on all chalkboard surfaces, just so the chalk goes on and erases smoothly) by rubbing the side of a piece of chalk all over the surface of the plaque.
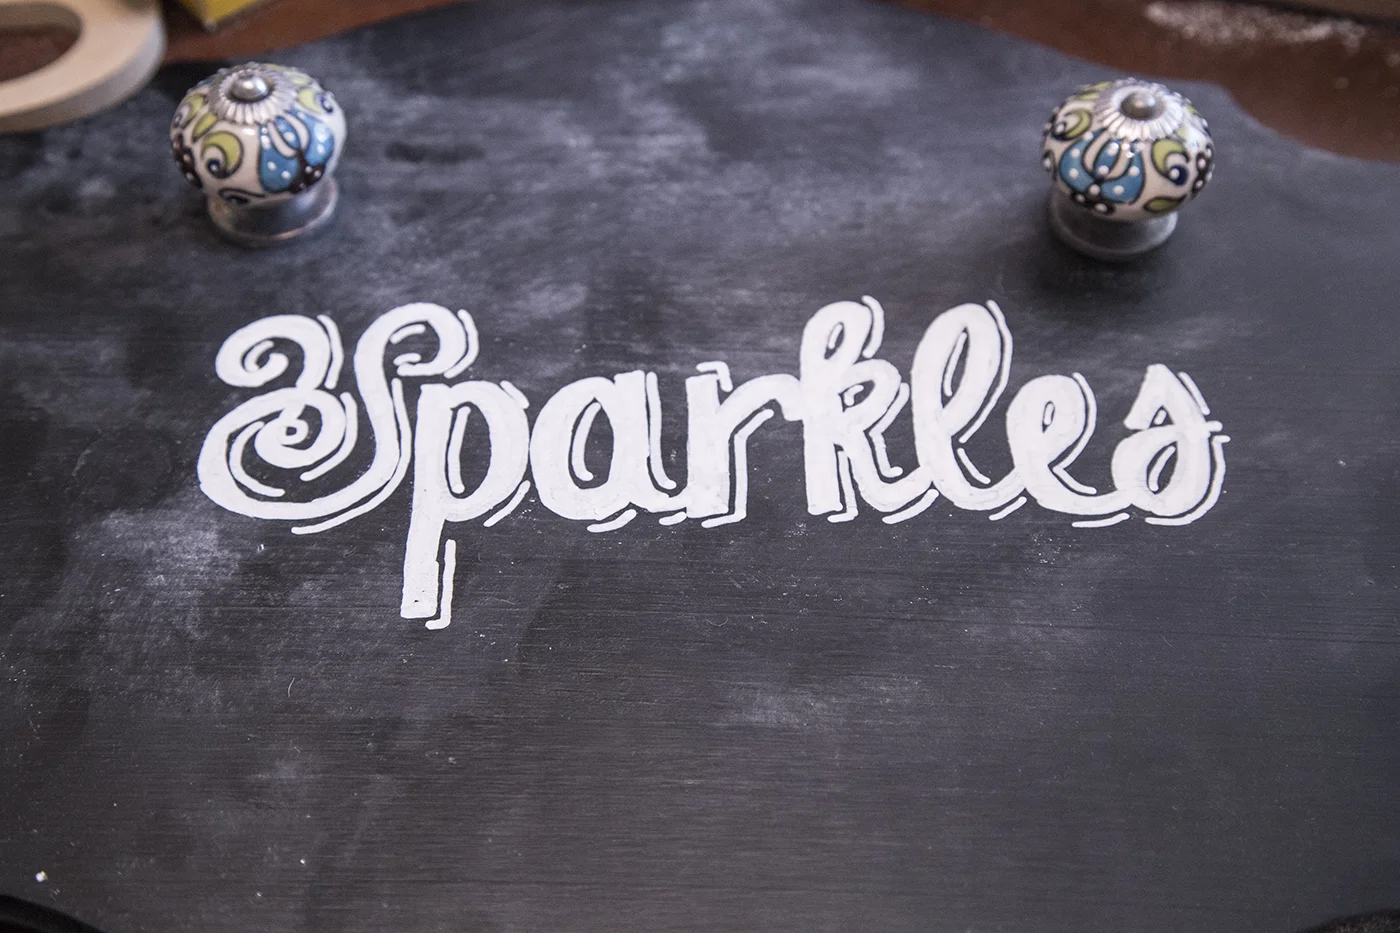
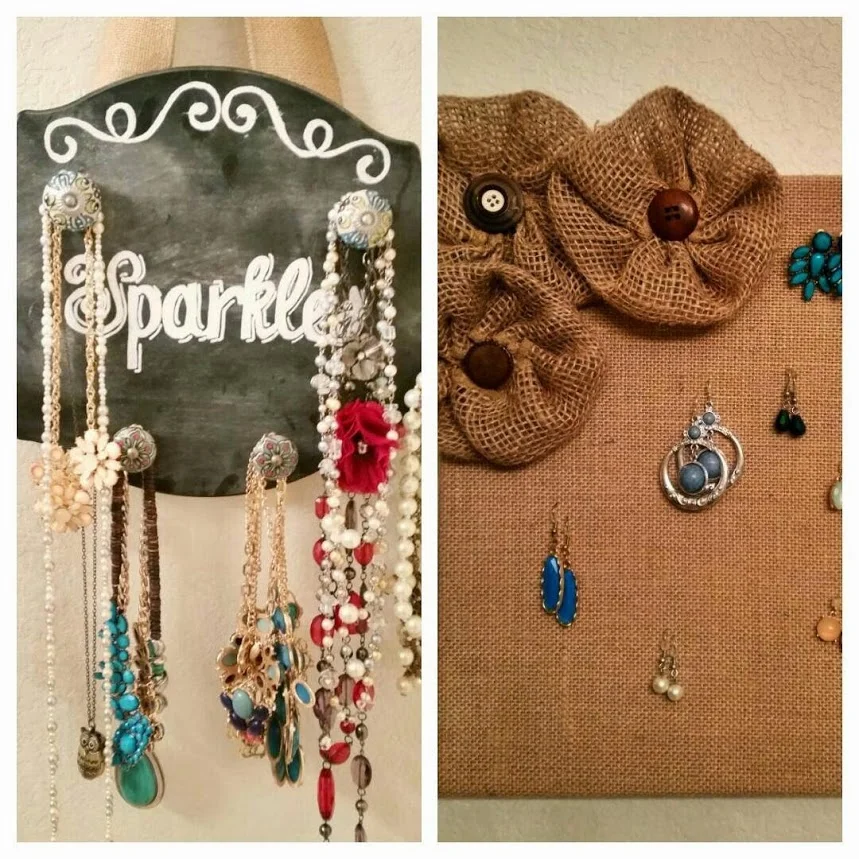
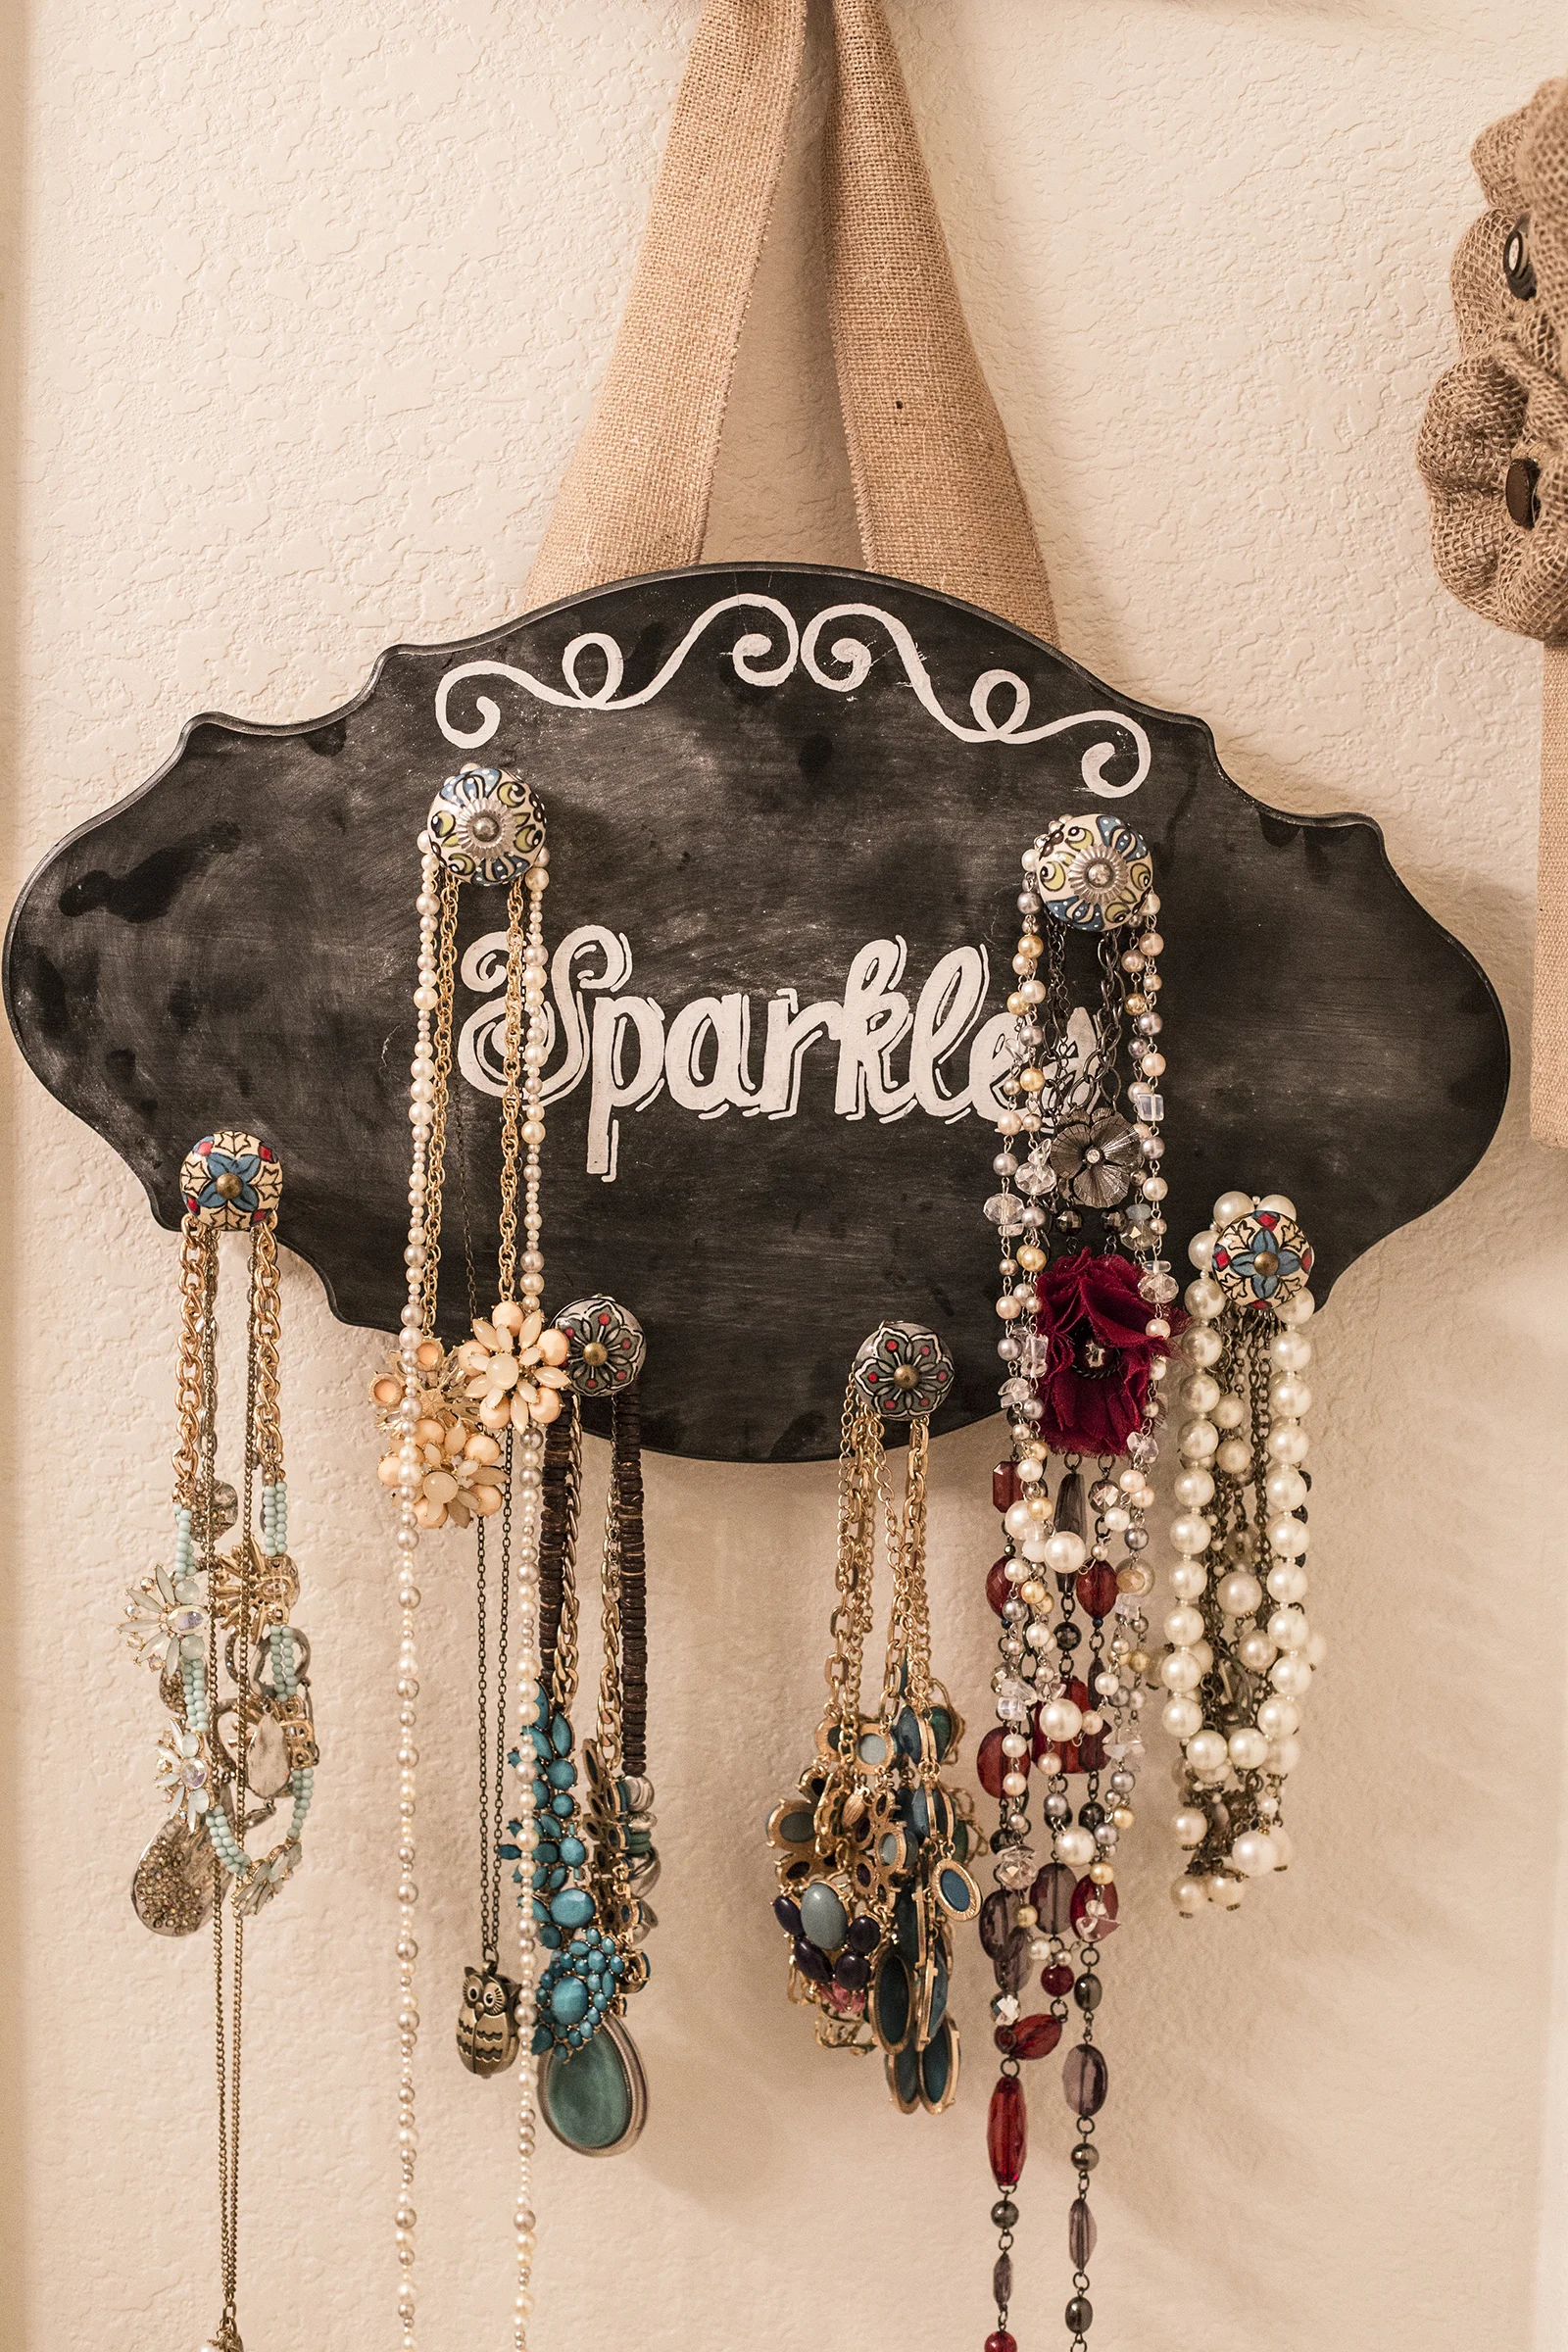
I then printed the word "Sparkles" in a font I liked, rubbed chalk on the backside of the paper I had printed the word. I lid the paper, chalk side down, on the plaque where I wanted the word to be places, and then traced the word with a pencil. By rubbing the chalk on the backside of the printed word(s) when you trace on the front side, the chalk will then transfer to the surface). Once I had the word traced on the plaque, I used the chalk pen to fill in the letters.
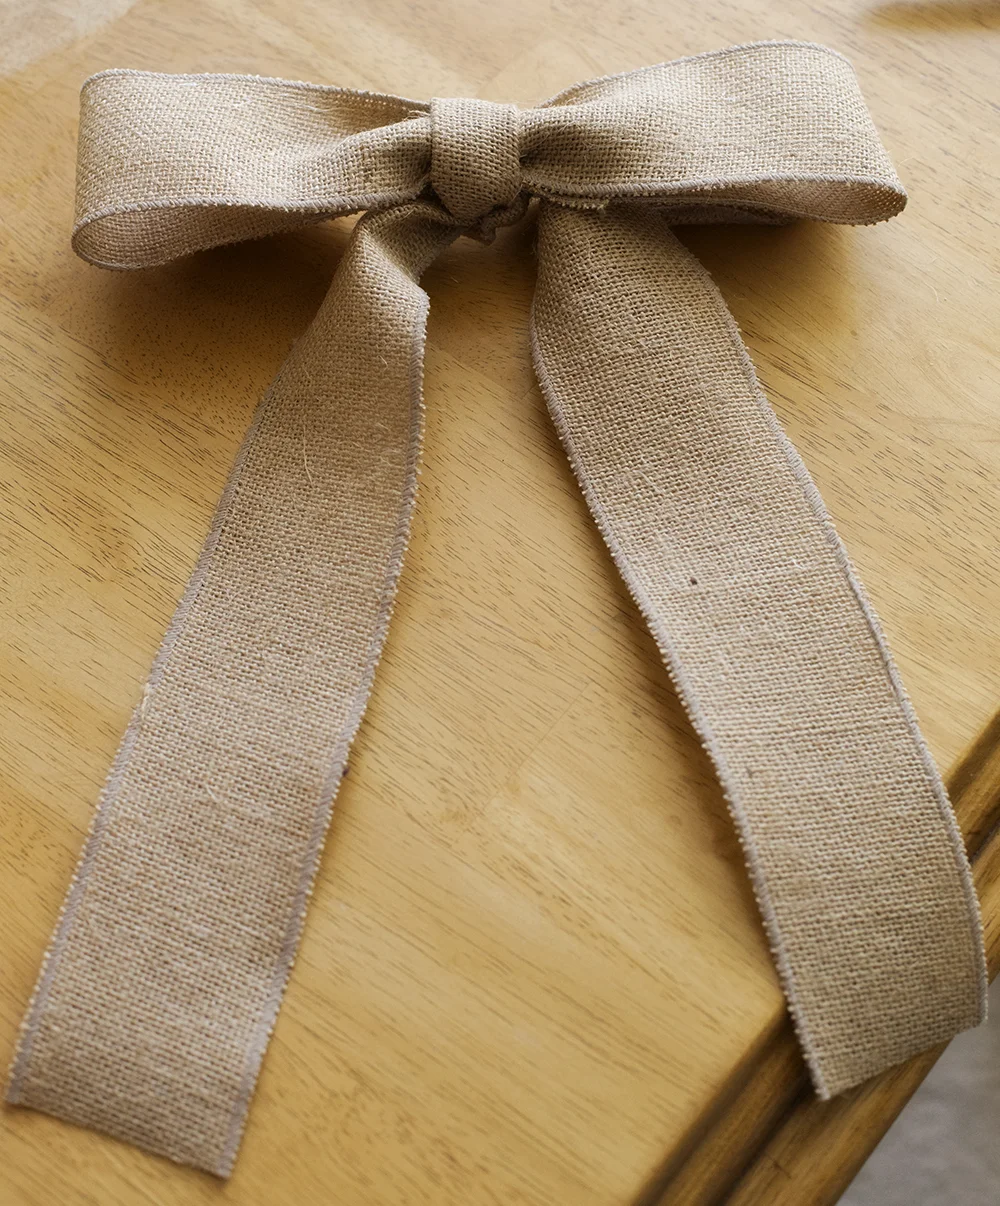
I knew I wanted to hang he plaque by a burlap bow, but I also knew that the plaque, once all the necklaces were hanging on it, was going to be heavy. I created the bow and used a staple gun and affix it to the back of the plaque. It is working now, but I would rethink this method for the next one - perhaps making the bow a part of the plaque and using some regular frame hangers on the back.
After the chalk pen ink dried, and the bow was attached, I put each knob in the space I wanted them and tightened them all down
I decided where I wanted it to hang in my bathroom and there you have it. I think I would use a pallet and plan a design using reclaimed wood next time. That being said...I can actually see my necklaces now! i will need to make another one soon because, as I mentioned, I have a TON of these beauty pieces and they are too heavy to fit all of them on one hanging plaque! And as and FYI - your fingerprints will show up whenever you touch the chalkboard surface.
Directions for Earring Holder
The Burlap Canvases are AWESOME!! I have lots of ideas for projects with these lovelies! That being said, they are plain to not add anything to them for a project such as this. I didn't want much on there, but decided that flowers would be perfect.
Cut a 2" circle out of felt or cardstock s a base to build the flowers on.
Cut approximately12" - 14" of the burlap ribbon.
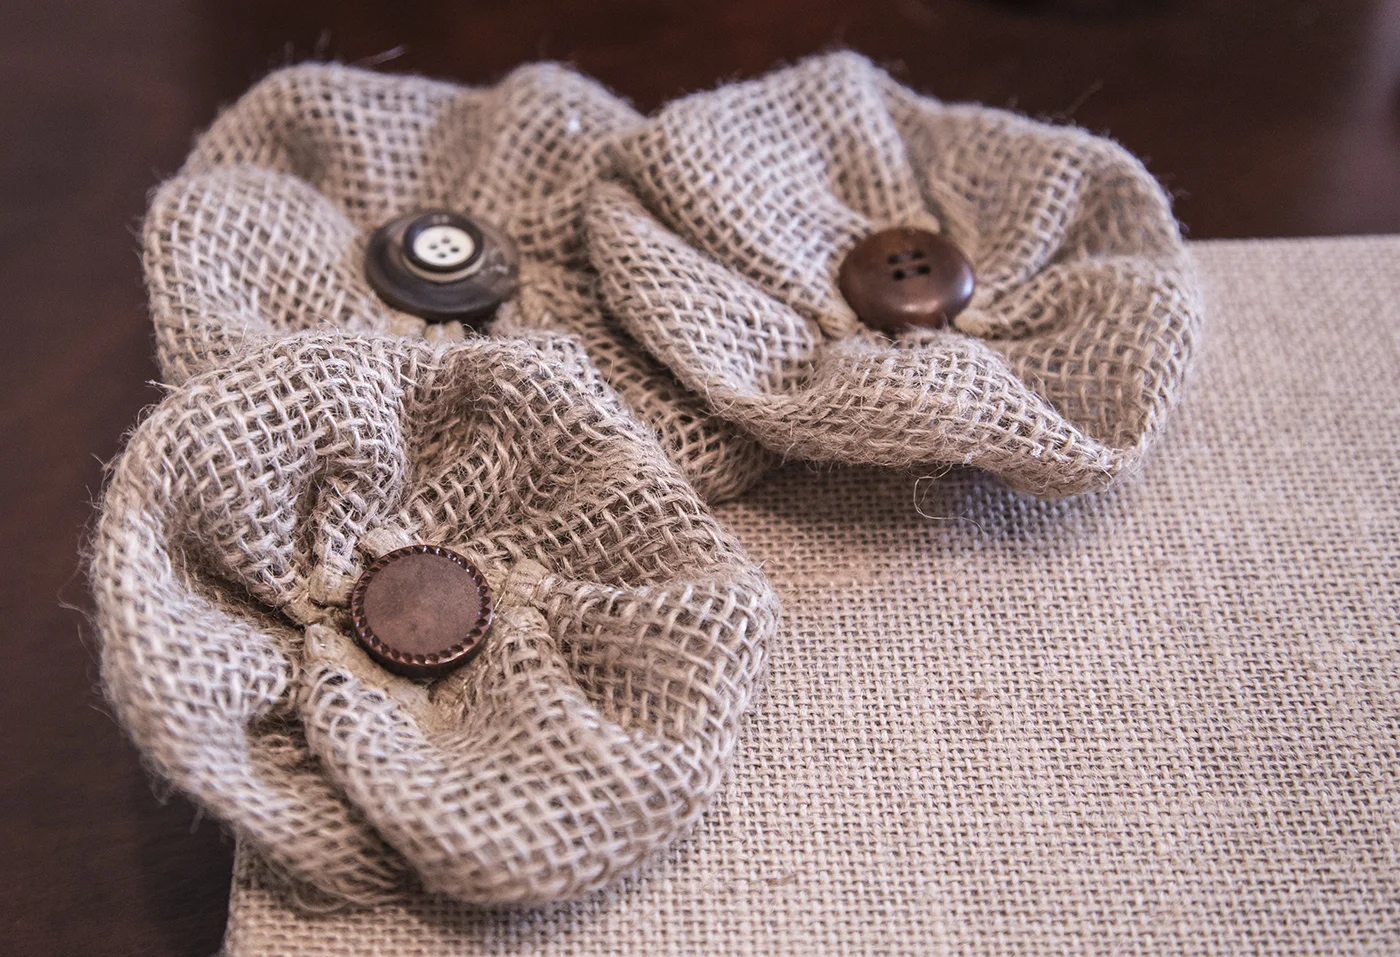
As I mentioned, I used the 3" wide ribbon folded in half. Beginning at the outer edge of the circle, hot glue the ribbon down. Continue gathering and gluing the ribbon as you go around the circle, working inward as you go. I promise to post a tutorial on how I do all of my flowers - however, there are so many tutorials out there for different flowers, you can do whatever style you like.
Hot glue a button or embellishment in the center of each flower.
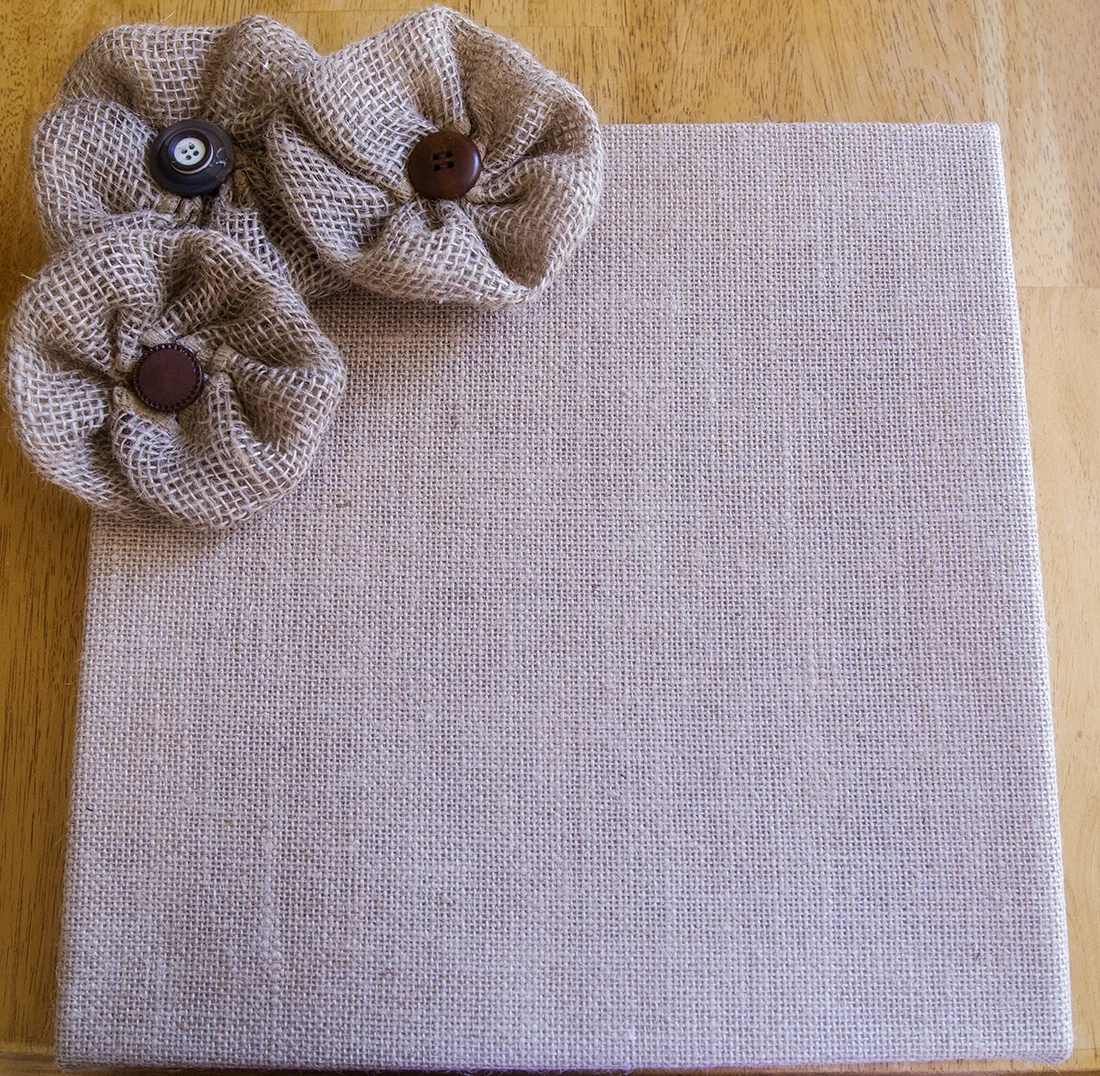
Arrange your flowers on or around the edge of your canvas and secure with hot glue.
